.jpg)


.JPG)


.JPG)


Dave often makes small jigs to help with mass production, oh... and his children sometimes too :)


.jpg)

Adding minor details to the trench walls

As always figures used here and there to test scale


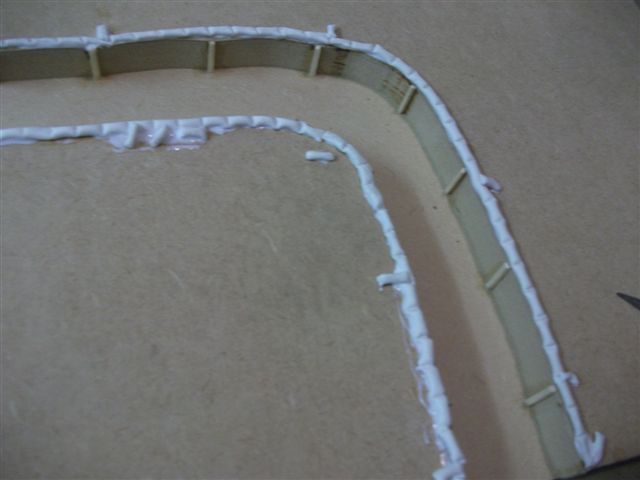
Liberal use of PVA glue, which works really well with the Crazy Clay


Two 30 man infantry platoons in roughly a 100 yard stretch of trench, CD does break down here a little at times as the maximum view along a trench is 2"or 100 yards, though sensible house rules usually negate this problem well enough


Nice little details like this give the trench system a bit more of a realistic appearance


I think these doors may have been liberated from the Pegasus Russian Farm House set?


Coloured, textured and manned


Dave's trench setup is way more detailed than mine, and about twice the size. You can see a picture of my full layout here http://20thcenturywargames.blogspot.com.au/2009/10/demo-game-actual.html


Hope these couple of posts have inspired any WW1 wargamers to have a crack at some trenches of their own. They can be a little difficult to create but they really do change the level of detail and variety to can achieve with your games. If you look through the 'Games'label on this site you will find a few more examples of our games and the trenches we use