Game 3 of 5, the NKPA continues its drive on Seoul

NKPA regulars moving up the only road leading to the ROK's positions. Here a couple of companies regather their morale after a brief but intense fire-fight with ROK platoons that were covering the withdrawal on this part of the battlefield

Helicopter gunship arrives to strafe NKPA militia units, and with no dedicated AA units the north could really only try to fend it off with small-arms fire, rather unsuccessfully as it turned out

Turn 6. Left flank, more militia units being ordered into the fray

Same turn, NKPA mortar platoons positioning themselves to provide direct fire support. Mortars usually have to be spotted for, but these units could all see their targets from this vantage point

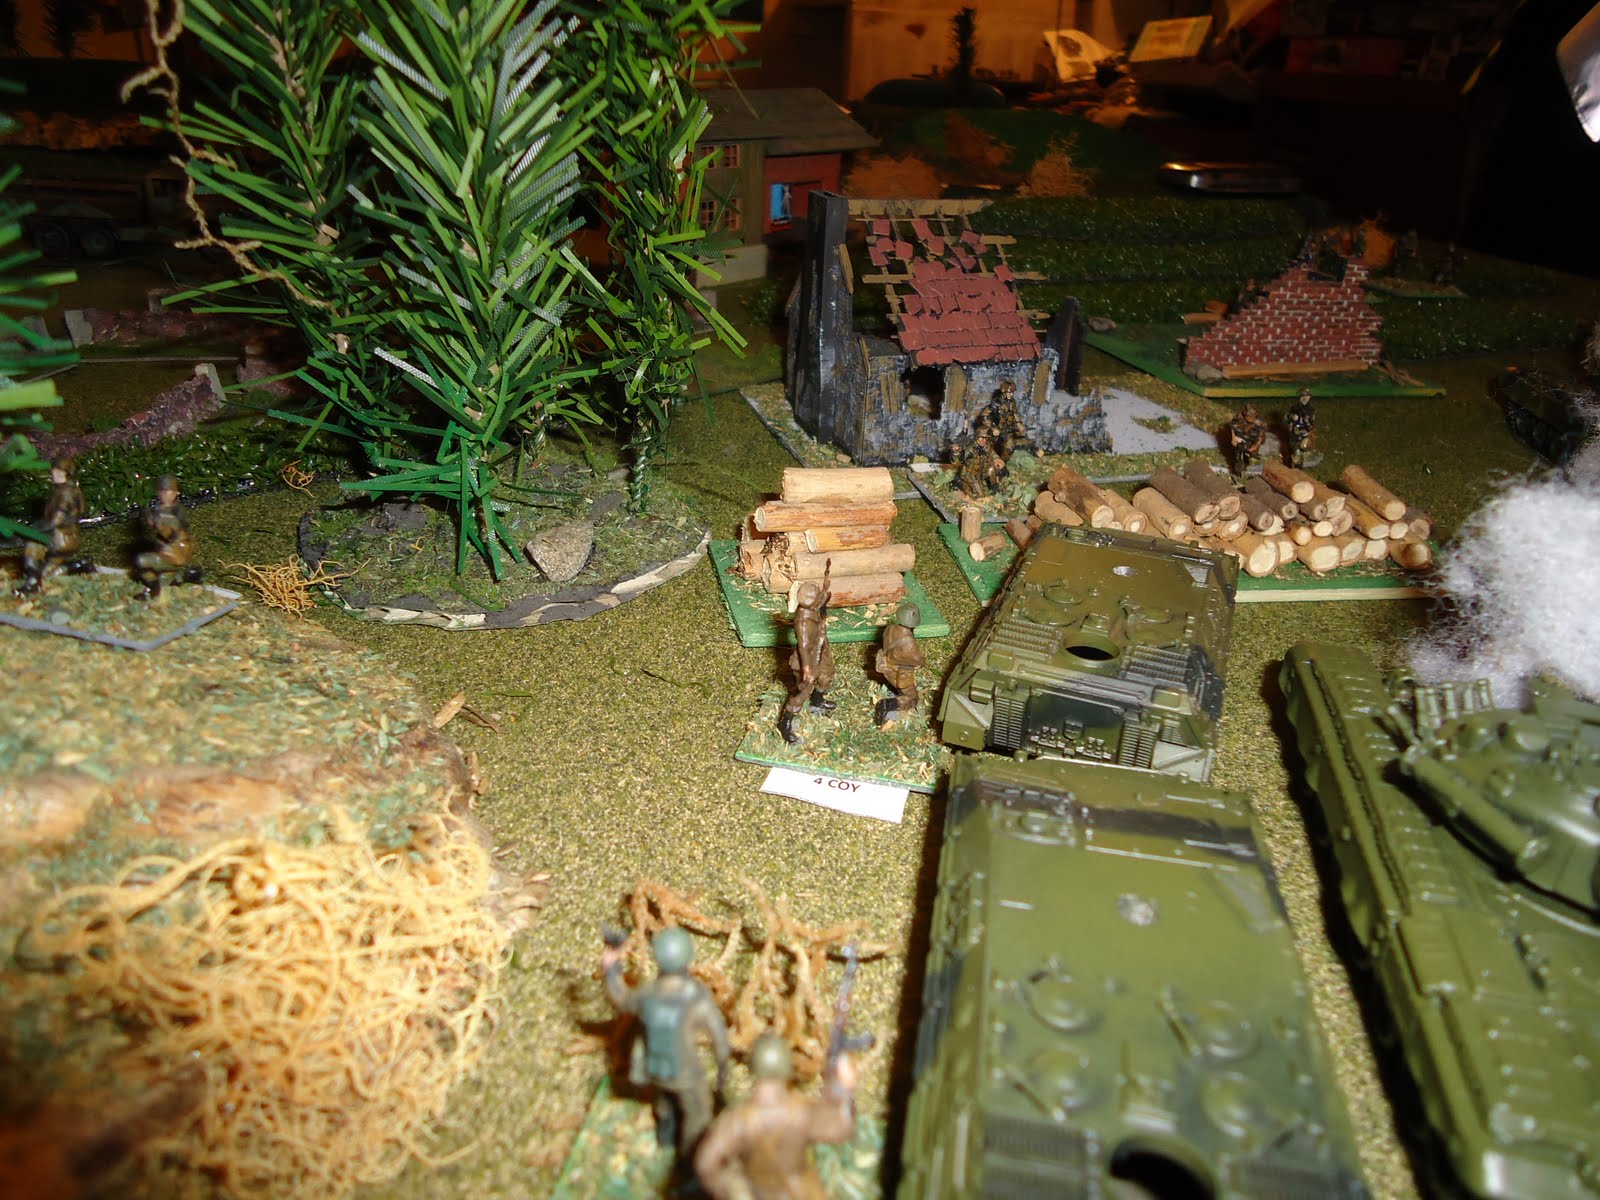
NKPA mech-infantry about to remount their carriers, figures are Esci, the carriers Roco

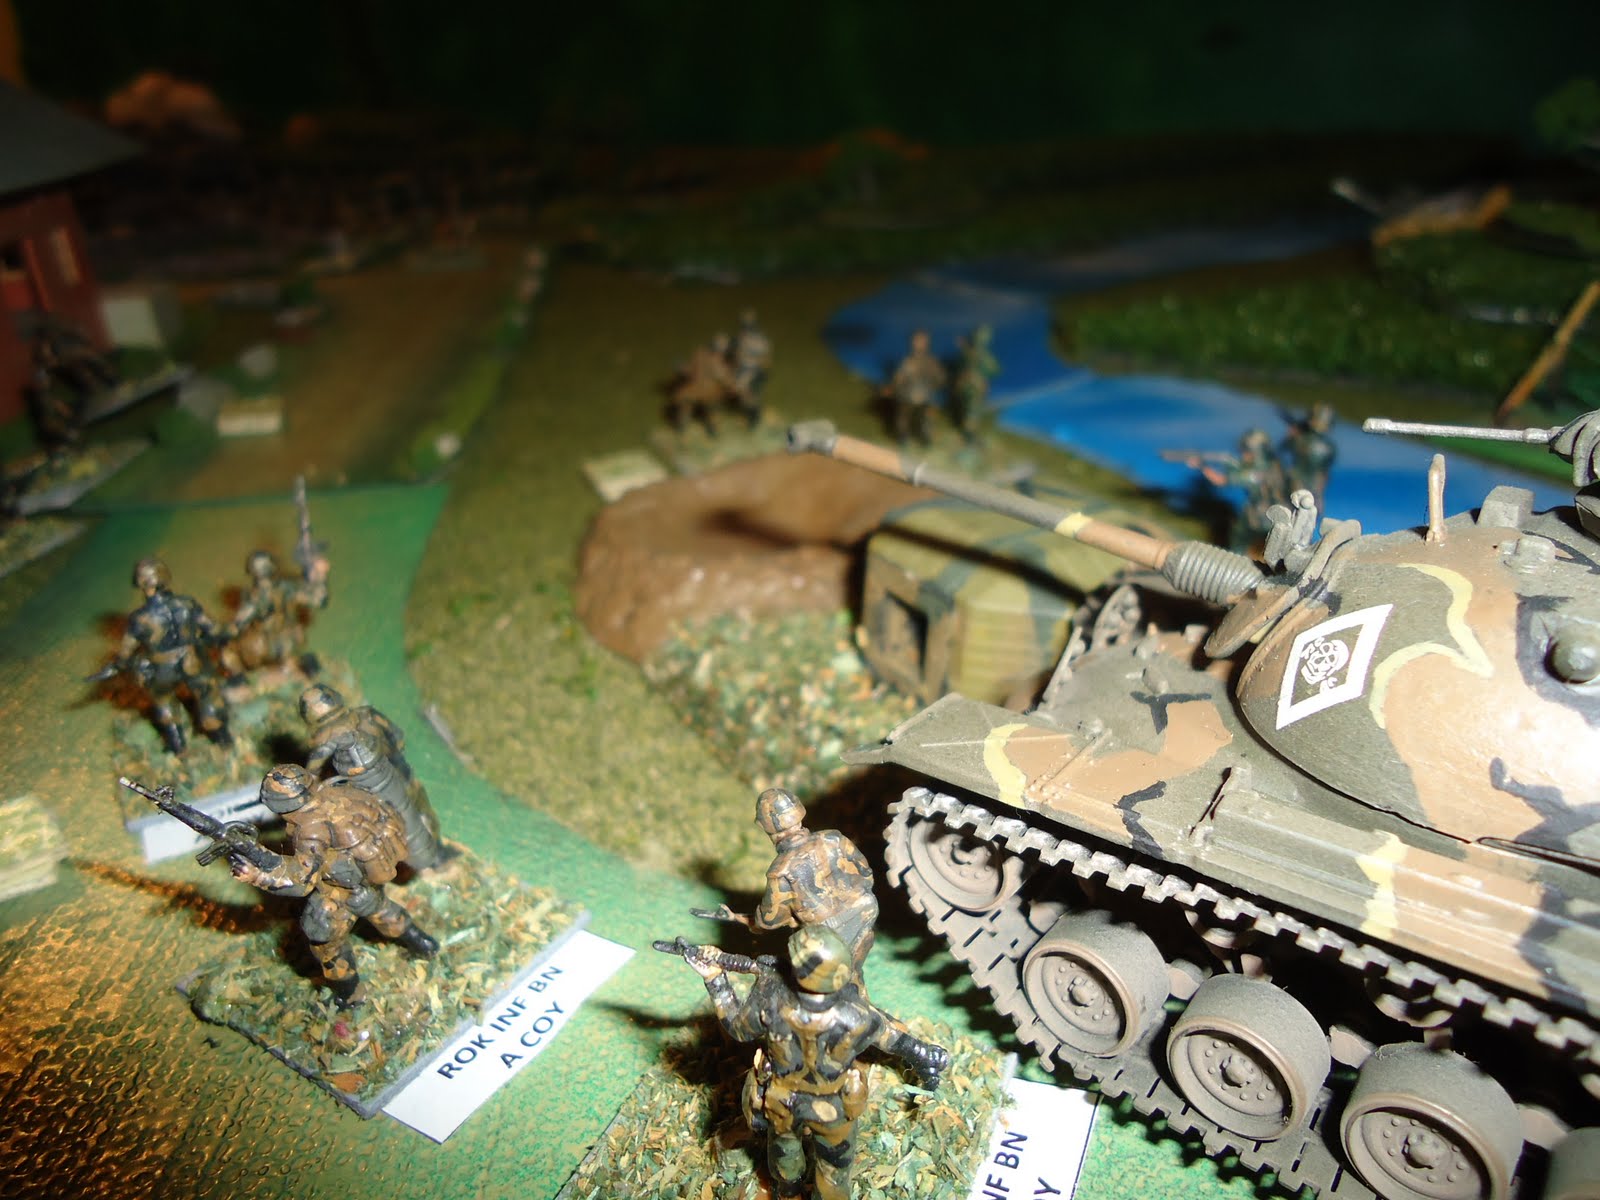
ROK infantry moving towards cover, while retreating transports continue south in the background

ROK engineers wire the bridge for demolition as soft-skin traffic continues to retreat over it

About turn 7. The Cobra makes yet another passing run over NKPA militia units with decisive results

The results: two companies forced to withdraw about 500 meters with shattered morale. NKPA RHQ would spend the rest of the game trying to rally these units; figures are Imex, Korean War

NKPA militia MMG platoon firing at the attack helicopter, alas with little effect

Still about turn 7, militia units flank the main area of ROK resistance and attack a column light transport

Turn 8. NKPA mech-infantry move forward , while in the background more militia platoons are fed to the gunship

The last defensive position to be neutralised before the bridge. There were a lot of small unit actions going on all around this area, with the NPKA's superior numbers eventually gaining the best field position

Soviet 'advisor' units watch the NKPA tactics from a safe distance; figures are Airfix

NKPA left flank. The second regular infantry battalion musters for an assault on the bridge having dealt to their ROK opposition

More NKPA regulars supported by militia over-run a warehouse that the ROK had been using as a forward command post area

The rear of that position, and the last defended position in front of the bridge. A single tank platoon and a company of infantry was about all the ROK could scrape together here for a last-ditch stand

Extreme right of the communist line. NKPA militia units loot and burn the transport column that was caught before it could escape across the river, and the mech-infantry company threw itself towards the bridge, now only 1000 meters distant

NKPA units including the only surviving tank platoon draw up in front of the bridge, too late to stop its destruction they contented themselves with firing into the backs of the, now safe, ROK. Despite being outnumbered and mostly out-gunned the game went pretty much the way of the South. The NKPA lost most of its armour in the opening moves and lacked enough motorised transport to keep close to the retreating ROK, the result being that the South always had a reasonable gap between itself and the NKPA hordes. A great game that played out really well and matched the campaign outline perfectly. Next up, the battle for Seoul.


.JPG)


 These arrived the other day
 Very nicely detailed, with several options to choose from. I don't have any PzIVs for late war stuff so Ausf H it is then
 Doing this first one as a bit of an experiment, had some minor problems with the side and turret shields but think it was more me than the model parts. This one is about half finished
 Exceptional value for money.