


.JPG)


.JPG)


The first few hours of the invasion

Japanese fortifications

One of the Japanese battalions is reduced to 50% strength as a result of the naval bombardment

First moves

Several US transport vehicles took hits on the run into shore

Japanese bunkers hold up early attempts to establish a foothold on the beach area around the pier. Figures are Italieri, Buffaloes are Airfix

Second wave. Higgins Boats finally able to cross the reef move to reinforce the Marines already ashore

A couple of turns later, heavy landing vessels are also able to contribute
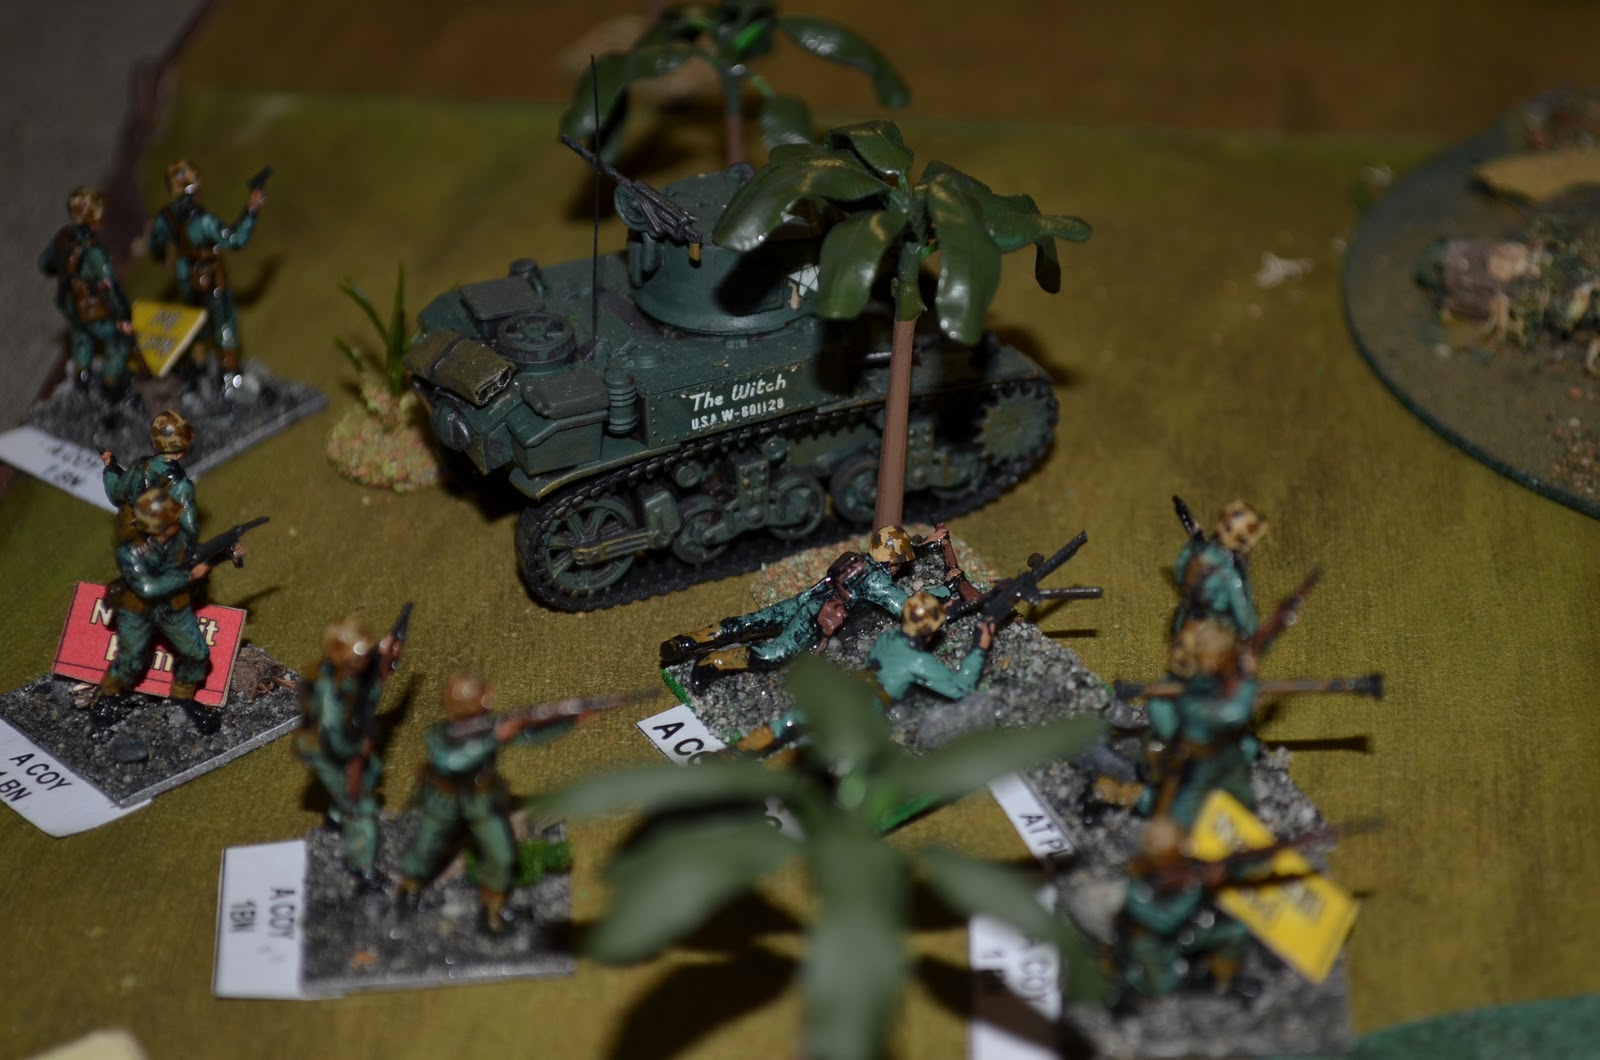
The arrival of some light armour allowed Paul to move his Marines onto their first objective, which was a small village about a 1000 yards inland

Despite being bypassed a few Japanese pillboxes continued to hold up the Marines trying to move ashore, and air support was called in to solve this problem
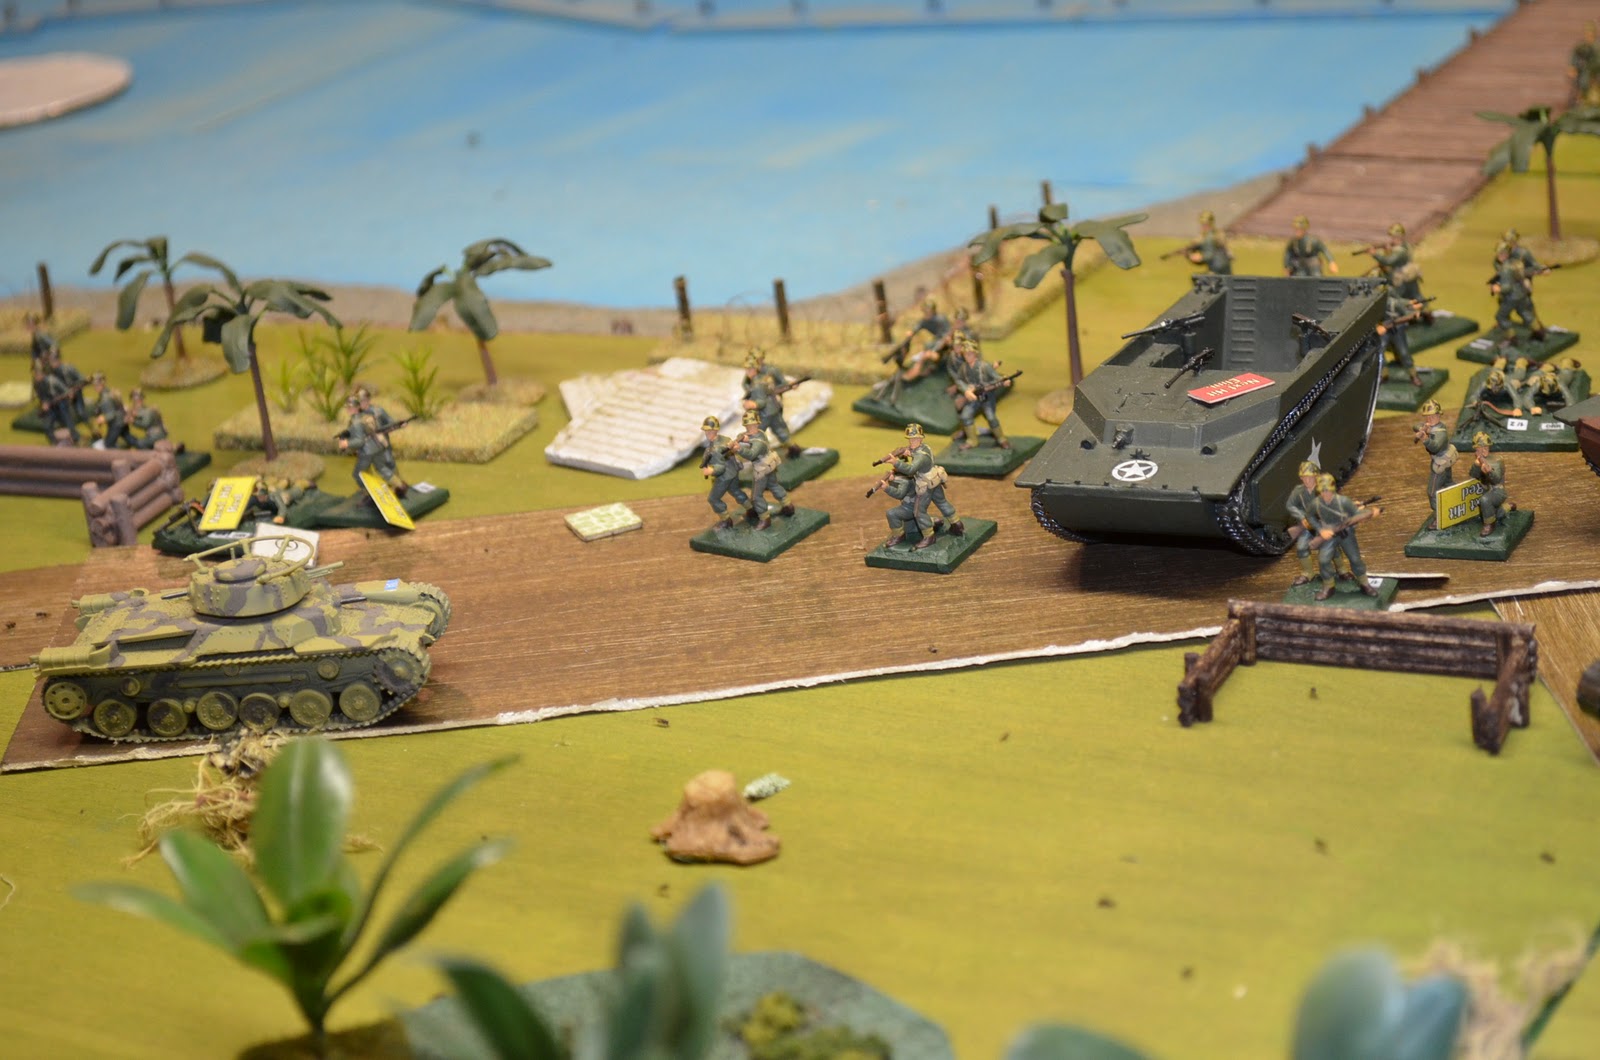
Japanese armour attempting a counter attack, though without reasonable infantry support it was doomed to failure. Airfix Chi-Ha

Suicide anti-tank stands had more luck, despite being wiped out to a man destroyed a Sherman and a Buffalo

Early moves against the out airfield defences. Japanese figures are Esci.
Part 2 when I get some more time:)
Nice game, I'm looking forward to seeing more.
ReplyDeleteNice AAR, and for a change quite accurate! Good use of the camera as well.
ReplyDeleteYou Japanese were tough blighters to dislodge.
Gripping Stuff Al
ReplyDeleteReally interesting to hear and see both sides
50% casualties from a naval bombardment sounds (and is) horrific
all the work was well worth it ...absolutely breathtaking!
ReplyDeleteAwesome looking game Al. Great photos and report.
ReplyDeleteThanks as always lads.
ReplyDeleteWe all chip in where we can but David gets the big thumbs up from me. Playing games on terrain like that is very cool, especially knowing the scale fits the scenario as good as it can.
Great to see the terrain in use - looking forward to part two!
ReplyDelete